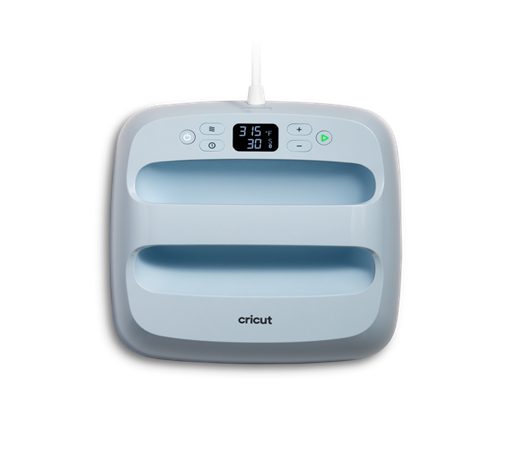
Do you want to take your creativity and crafting skills to the next level? If yes, then you must be fishing around for the Cricut Heat Press setup. Apart from the electric cutters, the company also manufactures four models of presses for their customers. However, one of the upgraded presses among the rest is Cricut EasyPress 3, which is thrice as nice.
It comes with the speed of a heat press and the convenience of an iron. Moreover, the Cricut Heat app connects automatically with EasyPress 3 via Bluetooth connection. In addition, it is specially engineered to achieve next-level heat-transfer results, which last long after repeated washes. Further in the post, we’ve explained all the fundamental topics about this heat press setup.
Steps for Cricut Heat Press Setup on Android/ iOS
In addition to getting the desired crafts from the press, all the DIYers must complete the Heat Press setup procedure by following the steps given below:
- First, you must install the Cricut Heat App from the Play Store/App Store and sign in using your Design Space login details.
For Android:

For iOS:

- Second, safely unwrap the press and other items provided with them.
- Third, plug the EasyPress3 power cord into the wall socket.
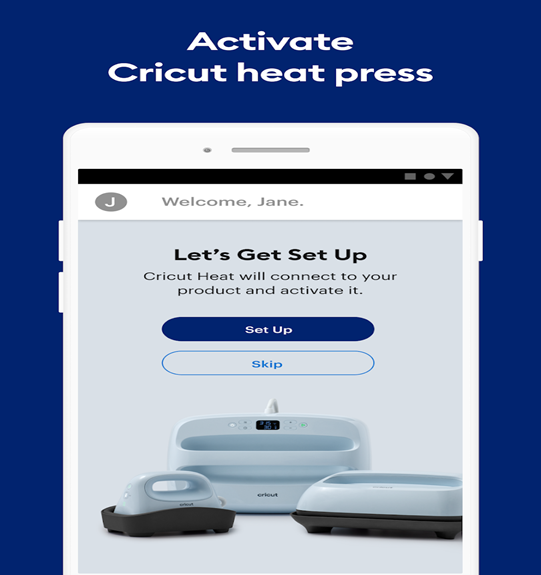
- After plugging it in, switch on the power button, and the app will be flashing on the screen.
- Now, it’ll indicate that you’ve to connect the Heat app & register the heat press to operate the press.
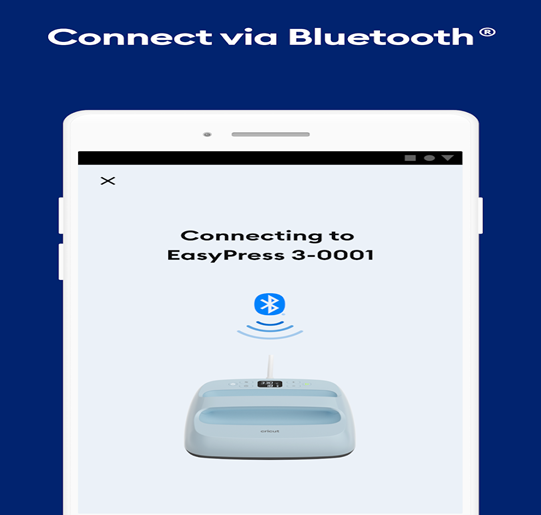
- Next, pair up your iOS devices/Android devices to communicate with the heat app. You’ve to power on the press within the range of 7 ft of your smartphone by ensuring that the Bluetooth is on.
- Moreover, you’ve to tick the Set Up to commence the press setup process.
- After that, choose your press model from the available Heat Presses list and tap the ‘Connect’ box.
- Following this, the app will verify the heat press setup with the list of email addresses that it has been registered with.
- Now, read all the Terms & Conditions and click the Activate option.
- Furthermore, the Heat app will display the status bar of EasyPress 3 during the setup process.
- After the process, the message the setup is complete will appear on your device’s screen.
- At last, the press will start to heat up and all set to be used with the Heat app.
Besides setting up this Cricut heat press, you can also connect it wirelessly with its in-built Bluetooth feature.
Steps for Cricut Heat Press Setup via Bluetooth
As explained in the opening lines of the blog, EasyPress 3 has Bluetooth technology allowing the users to pair up the press with a smartphone using the Heat app. The users aren’t supposed to do any manual pairing during the process.
- To make your device discoverable, turn on your device’s Bluetooth.
- Connect your press to the power outlet and switch it on.
- Go to the Heat app and sign in with the details. If you are already connected, it’ll automatically get visible under the My Presses list.
- The wireless connection with the heat press will get started and wait until it ends.
- Once the pairing process concludes, all the presses list will be visible under the mobile device’s Bluetooth settings.
- When the press is turned off, your smartphone Bluetooth will automatically get disconnected.
After setting up the mobile phone with wireless technology via the Heat app, one can send the suggested time & temp settings as per the project type.
Steps for Use EasyPress 3 on Heat App
You can recommend various time & temperature settings while creating the project by accessing the installed app during the Cricut Heat Press setup. For that, you’ve to follow the steps shared in the section below:
- Plug the power unit into the compatible wall unit and power it by switching the power button.
- Select the installed Heat app icon, and it’ll get open.
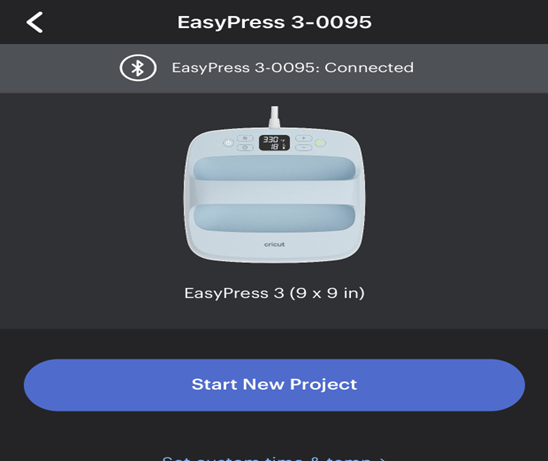
- After that, choose Start New Project, available under the My Heat Presses list.
- Choose your transfer material and base material and press the Next box.
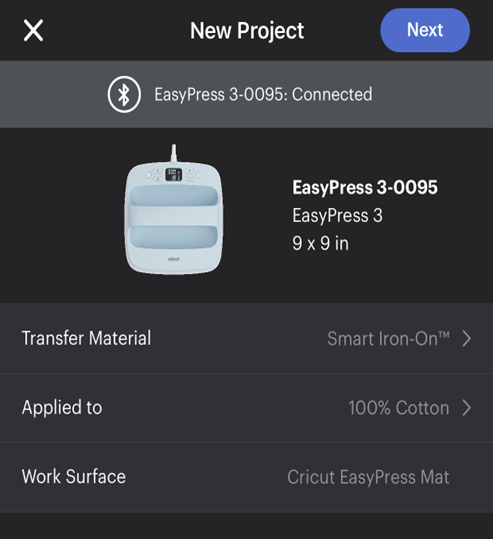
- After filling up all the sections, choose Send Settings to EasyPress. Followed by this, go through all the on-screen instructions to finish the projects.
Apart from that, the Cricut Heat app can save three recently used settings for easy reference. For that, you just read the guidelines visible on the screen.
FAQs
Question: How to Set EasyPress 3 Time & Temp Settings With the Heat App?
Answer: You can customize your press timing & temperature with the steps mentioned here:
- Sign in with your details (if asked) at the Cricut Heat app.
- Under the Heat Presses, choose EasyEasy 3 & choose Set Custom Time & Temp option.
- On the new web page, change the temperature & time settings per your preference.
- When you are done by doing the changes, press Send Settings in the EasyPress box.
Question: Is It Worth Pay for Cricut Heat Press?
Answer: Getting Heat Press for designing different projects can be worth it. One of the reasons is that the heating surface on the Cricut Heat Press products is better than regular iron. Unlike iron, this heat press has a ceramic-coated plate allowing the crafters to stick the design on the material without damaging its quality. Moreover, all the Iron-On easily gets transferred without any side effects.
Question: How to Manually Adjust EasyPress 3 Temperature?
Answer: Go through the following steps to learn about the process:
- First, press the 3 temperature buttons (3 heat wave lines) and adjust them with plus (+) & minus (-) buttons. To change from Fahrenheit to Celsius, hold on to the temperature button until you see F to C on the screen.
- Hold the time button, then modify the value with plus & minus options.
- Now, three lights with different meanings will appear:
- Orange: it’s heating up.
- Green: temp has been reached.
- Read: there is an error.